Description
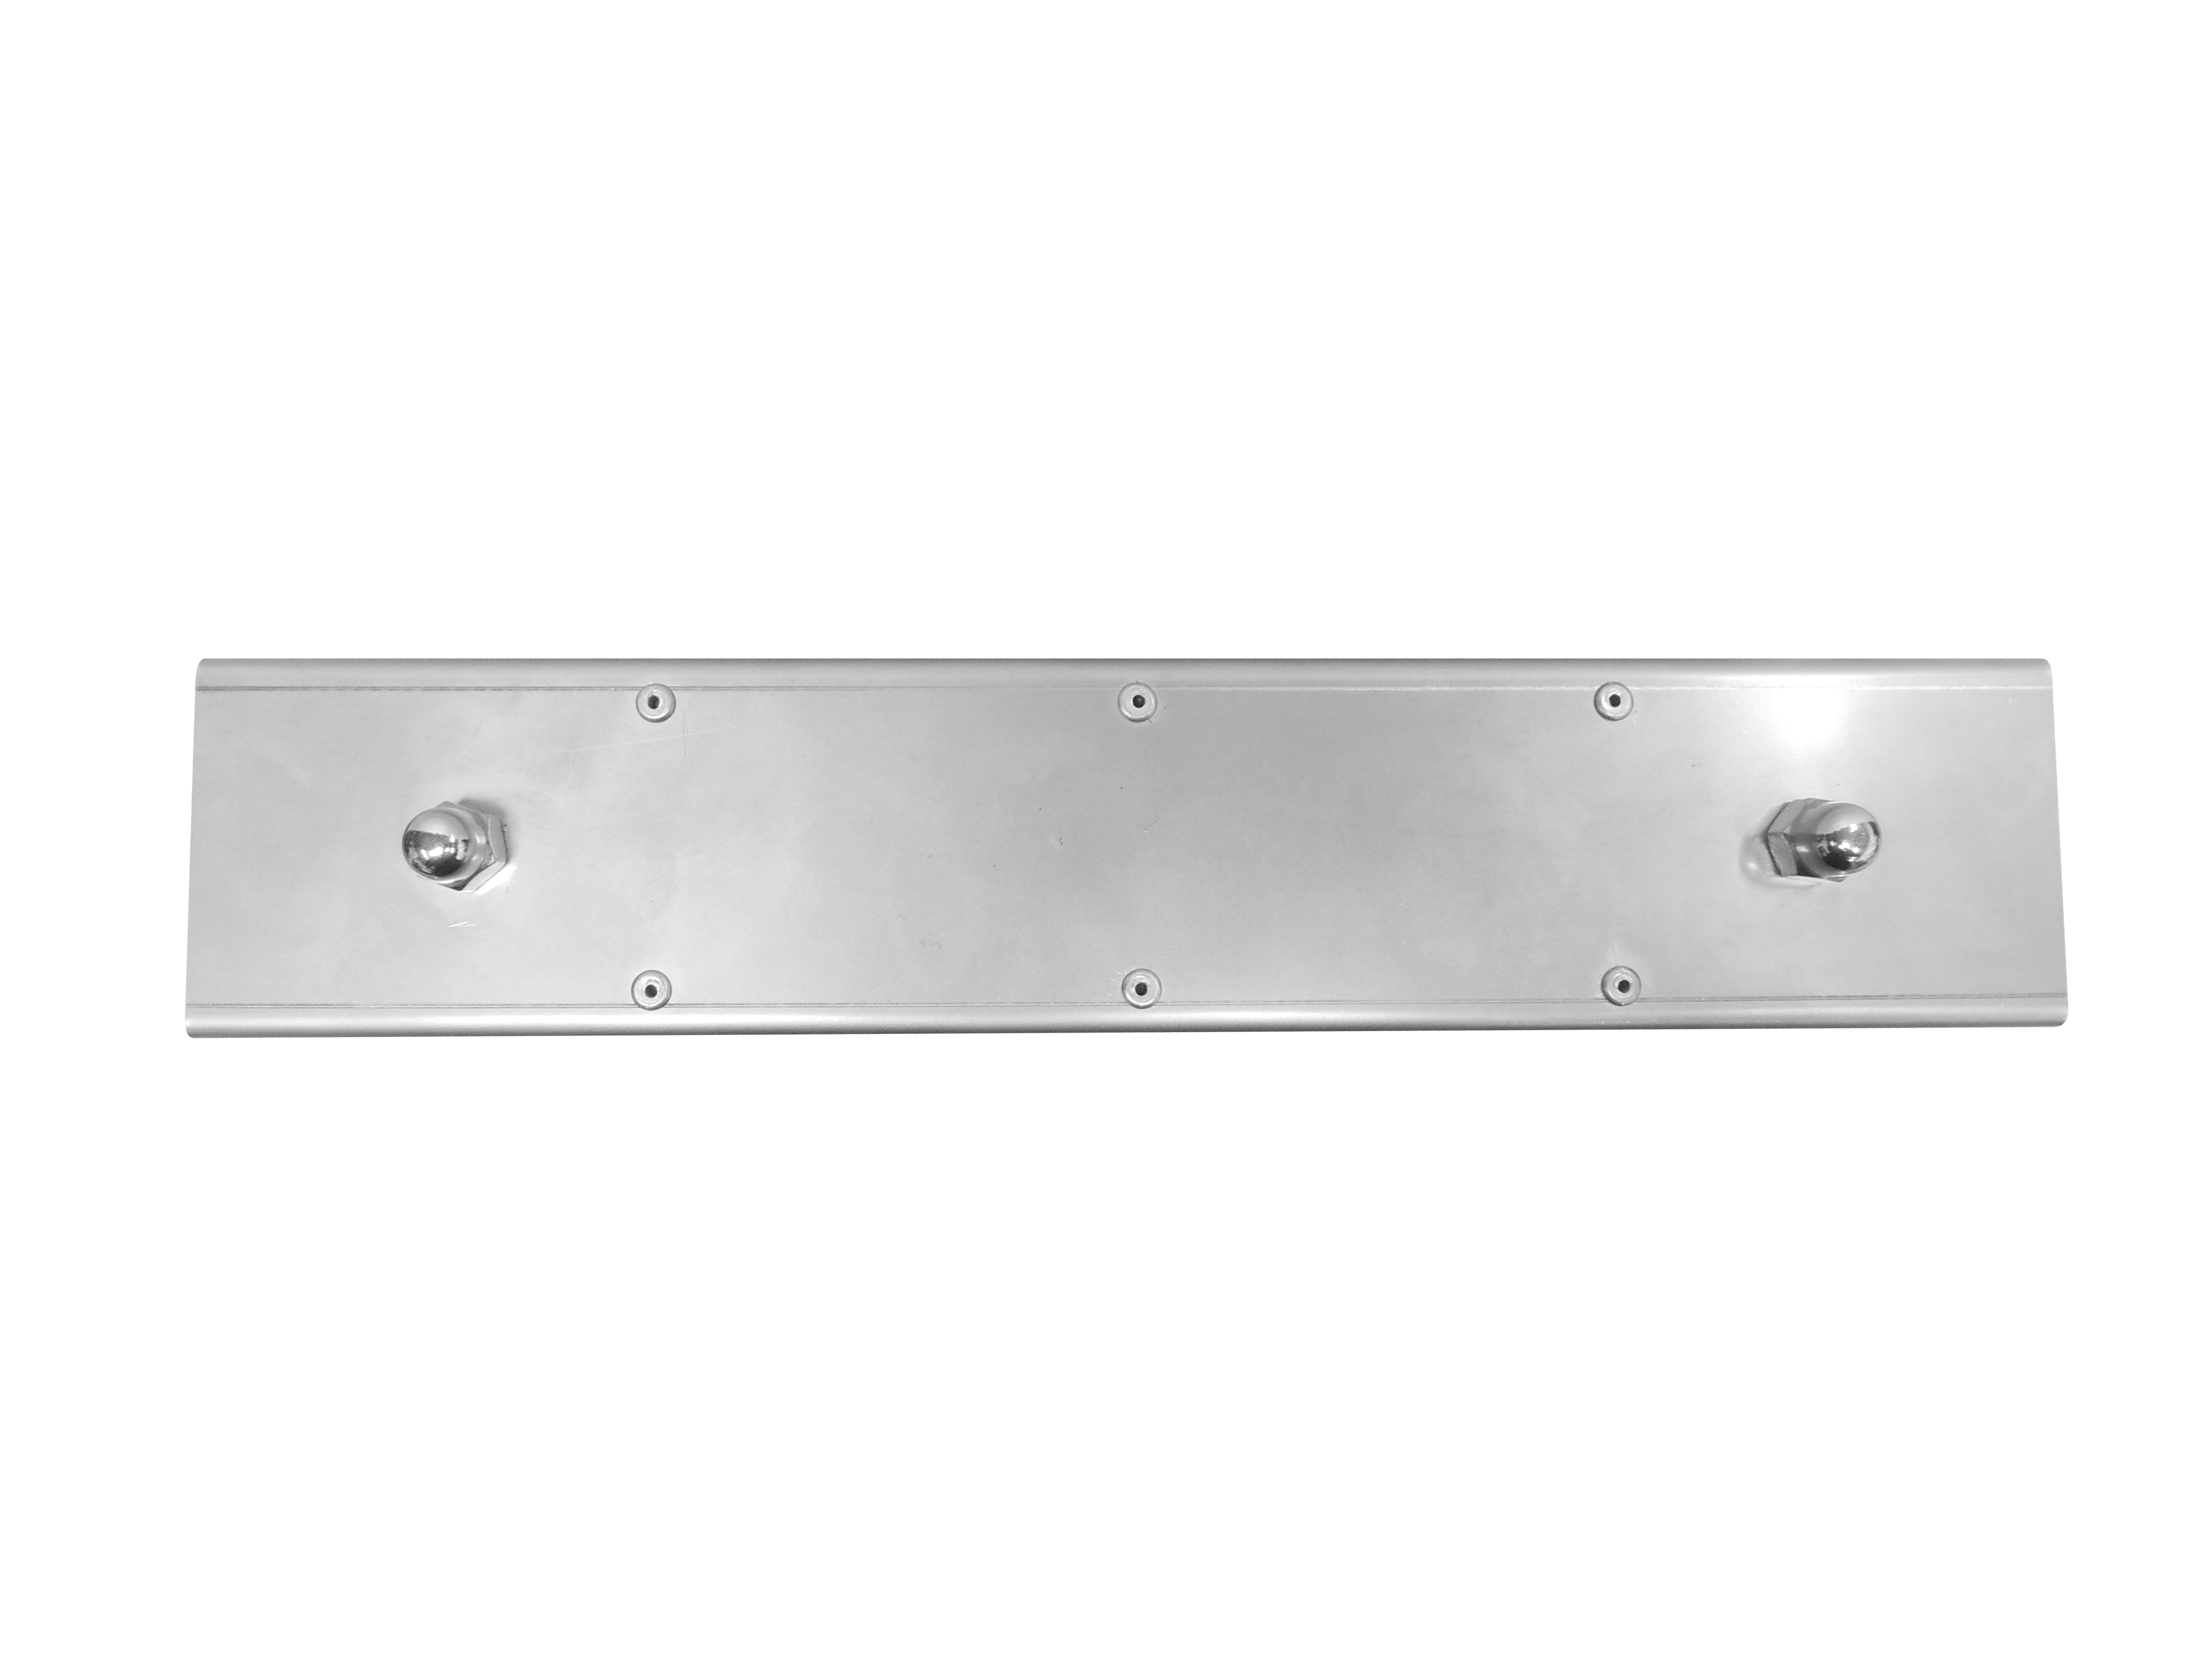
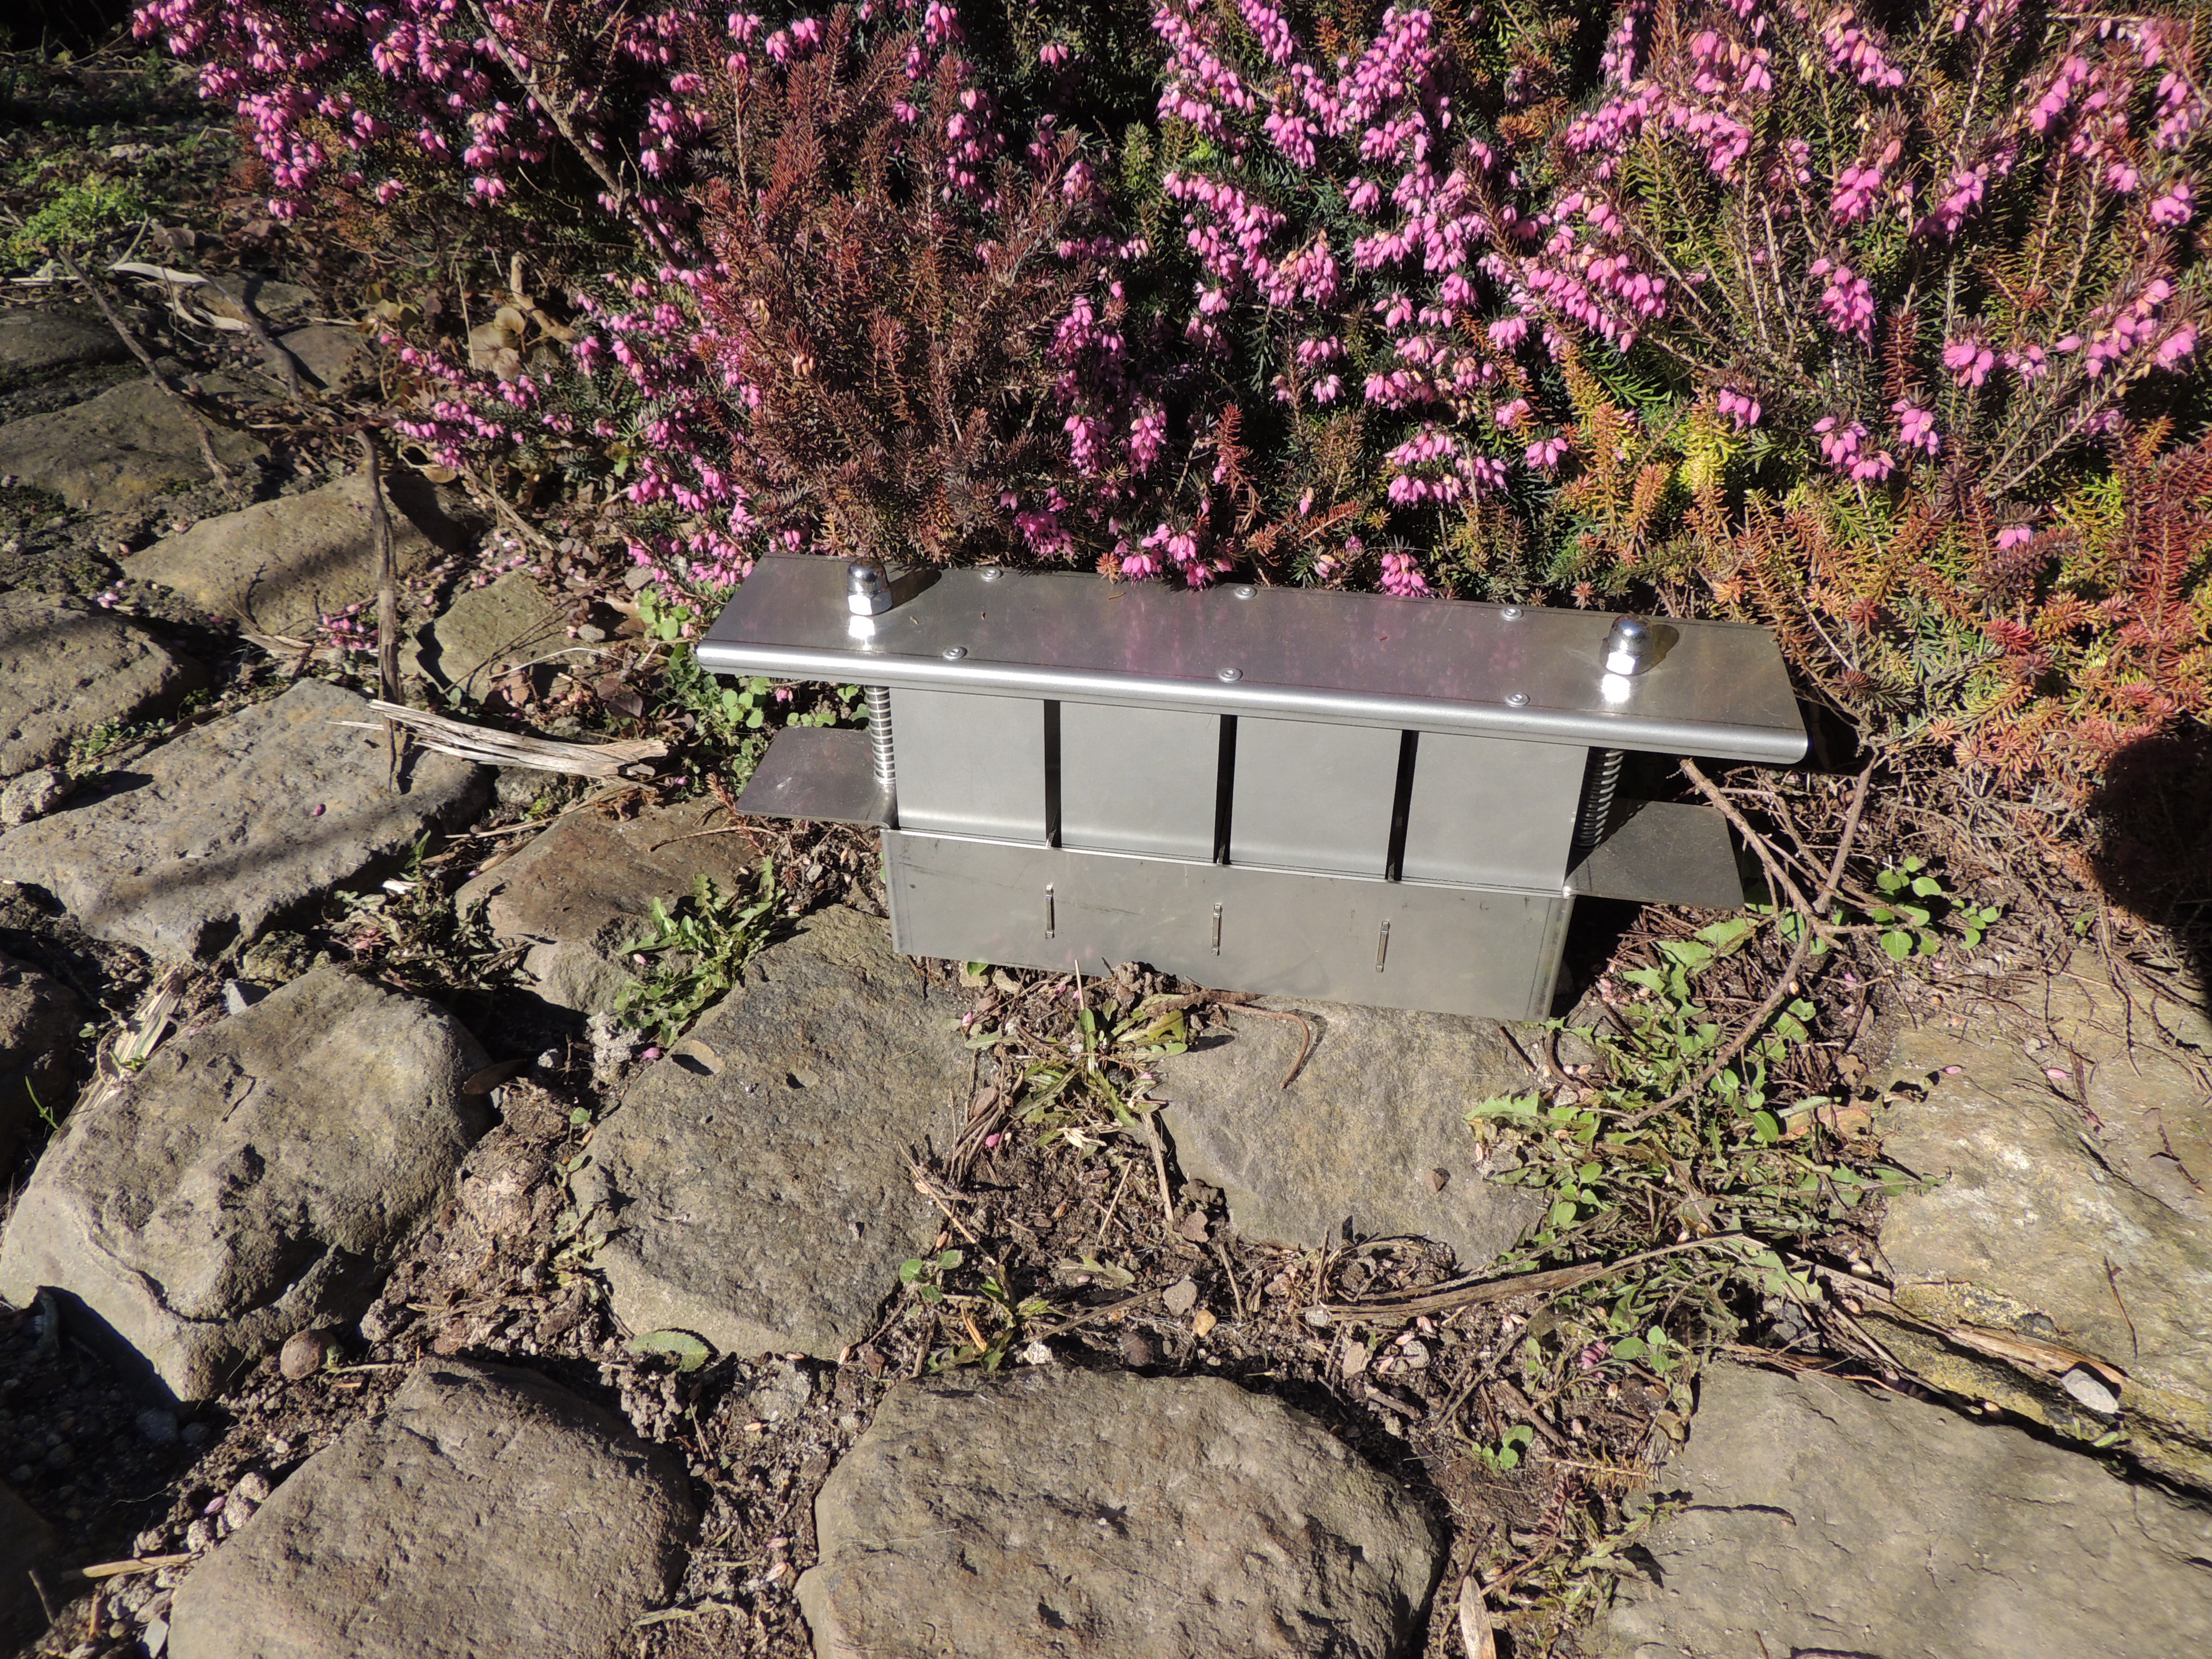
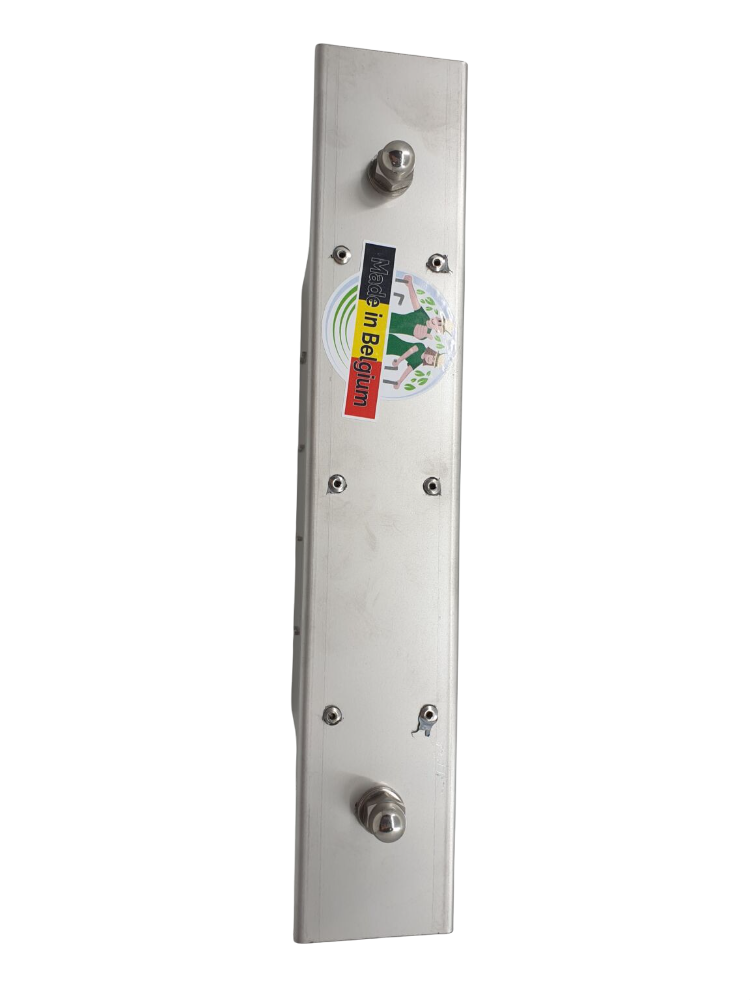
Tool made in Belgium, entirely stainless steel. For outdoor use, rust resistant.
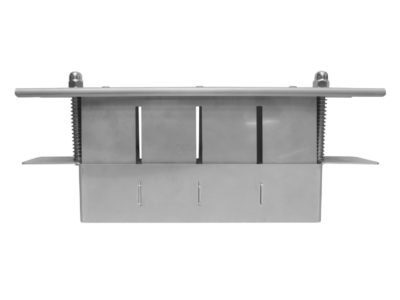
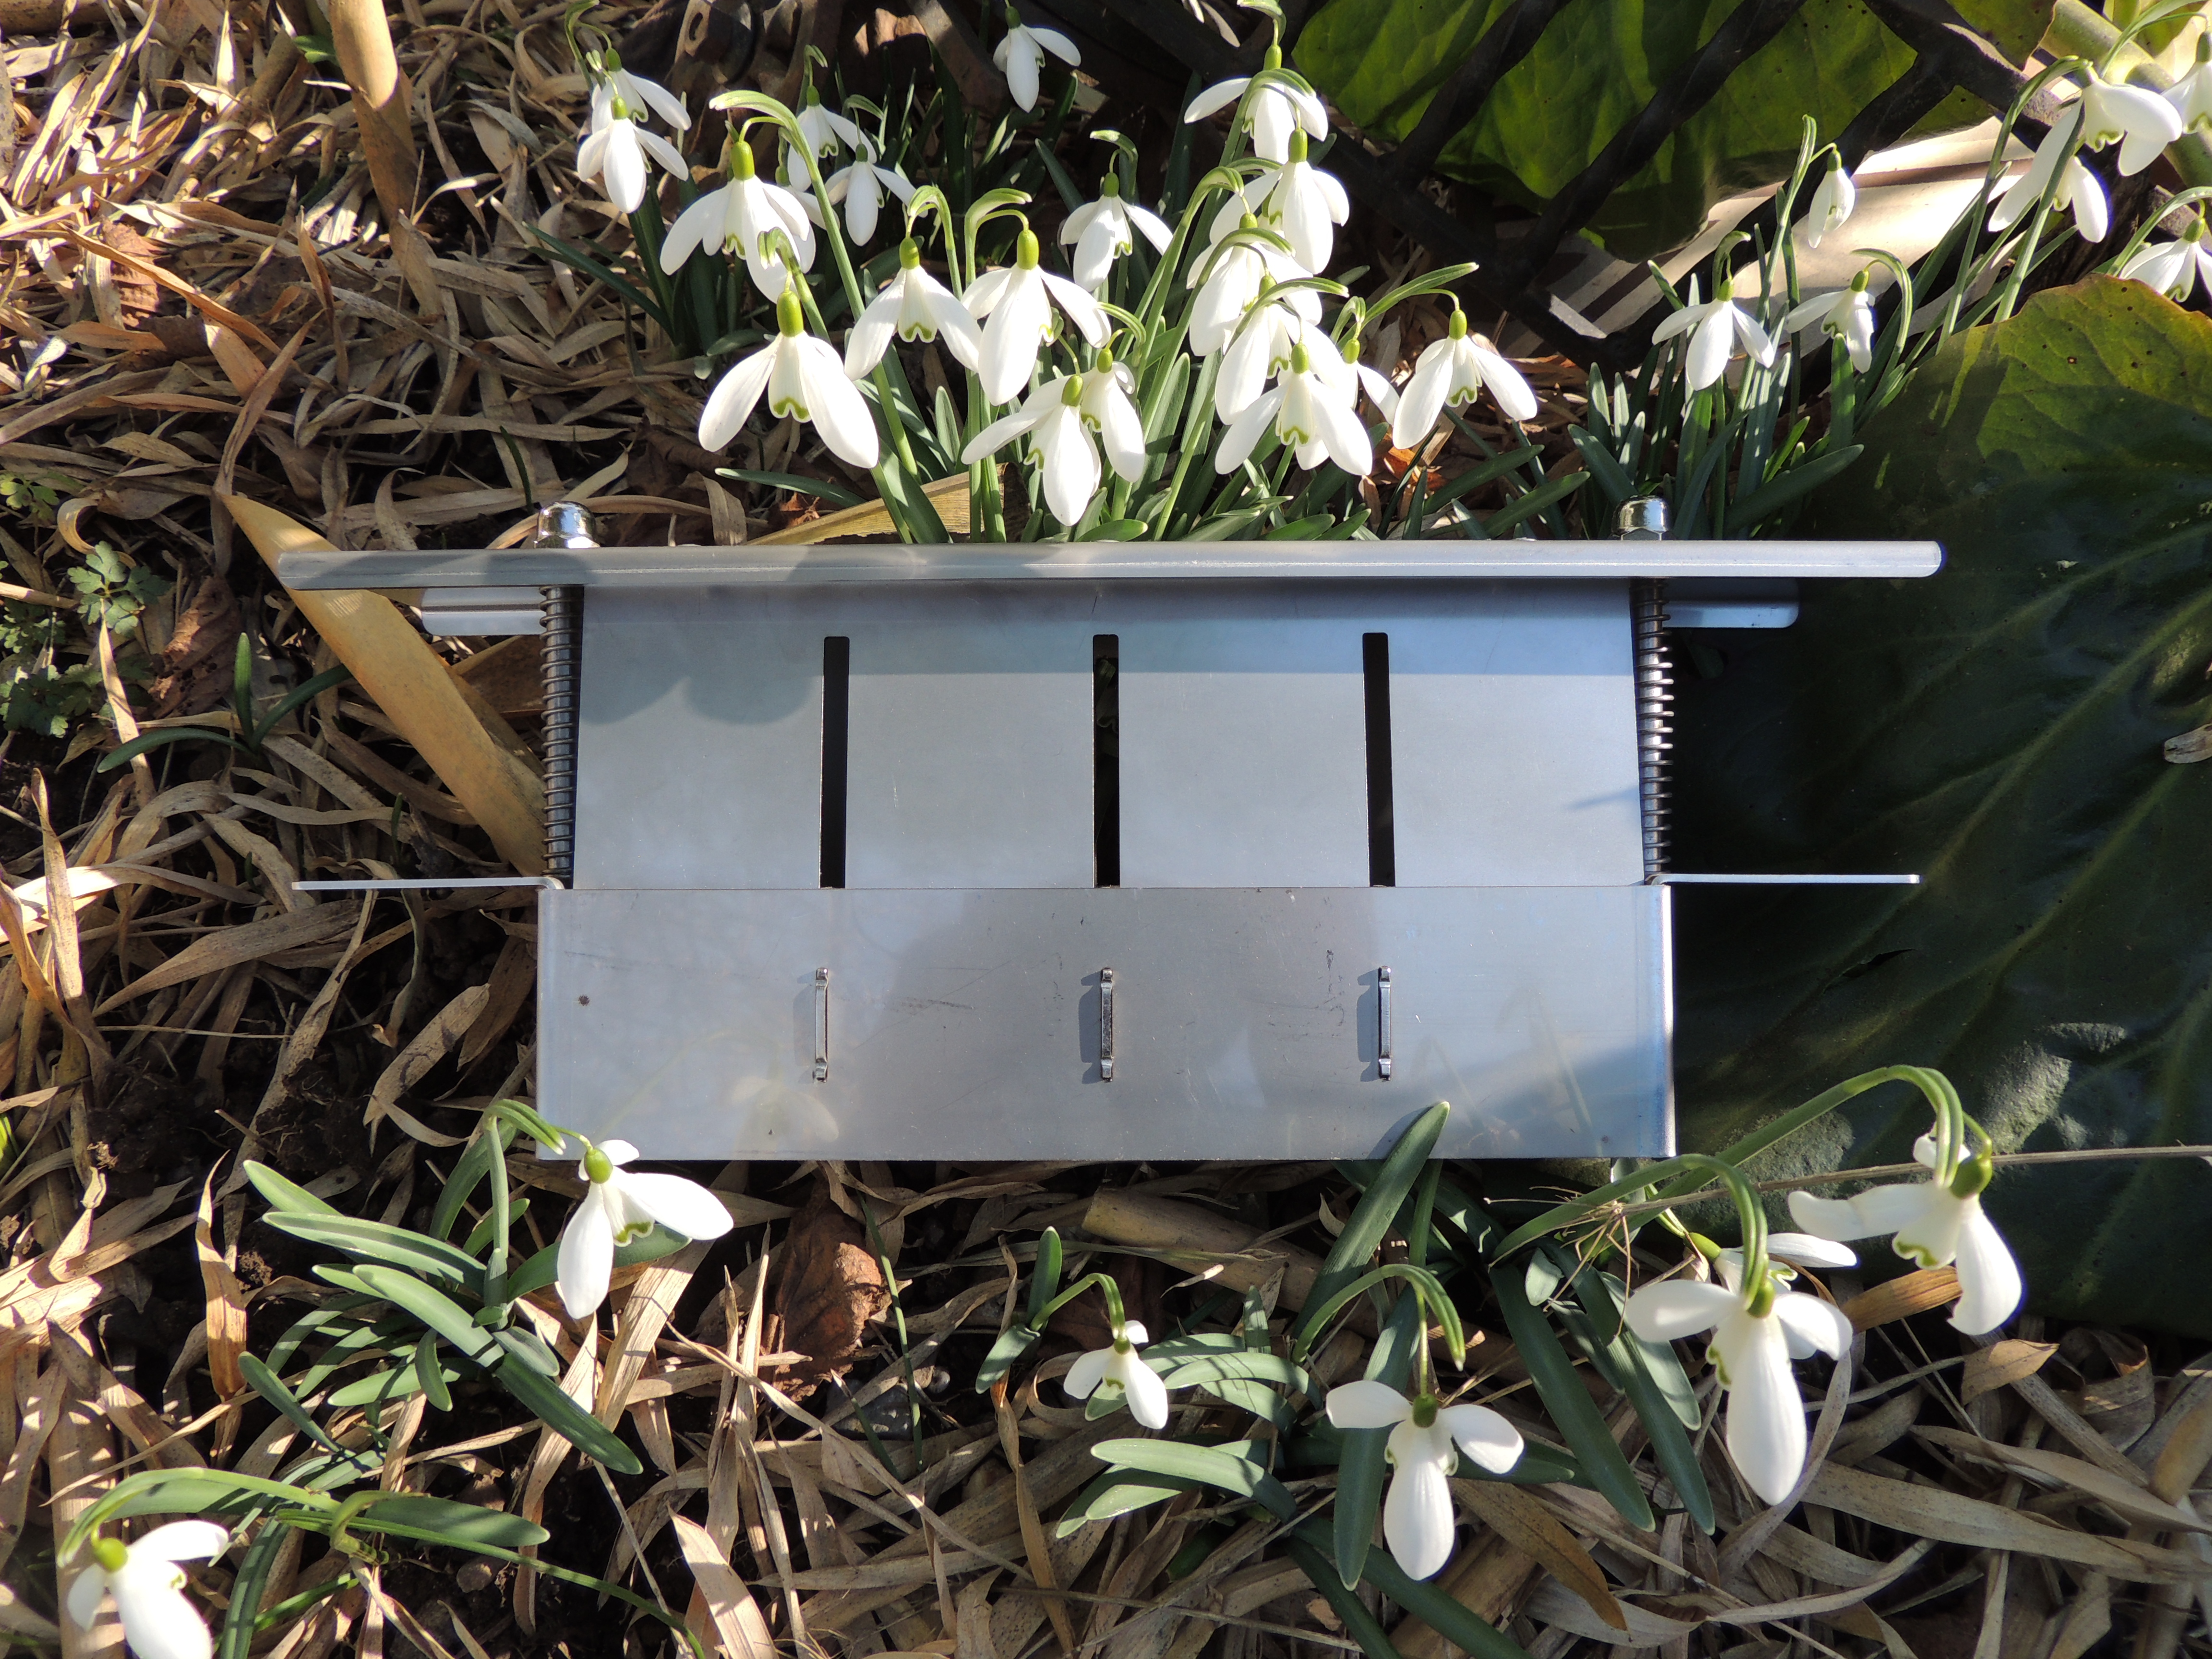
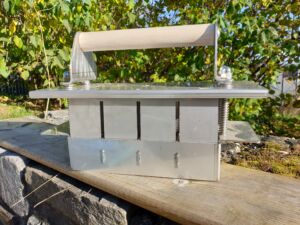
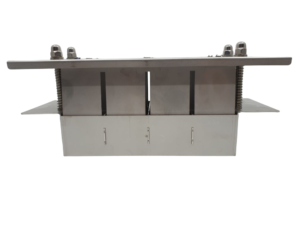
The stainless steel soil blocker is a tool for producing vigorous plants yourself (vegetables, flowers, etc.). Thanks to the stainless steel soil blocker, you will no longer use a pot, ecological and economical!
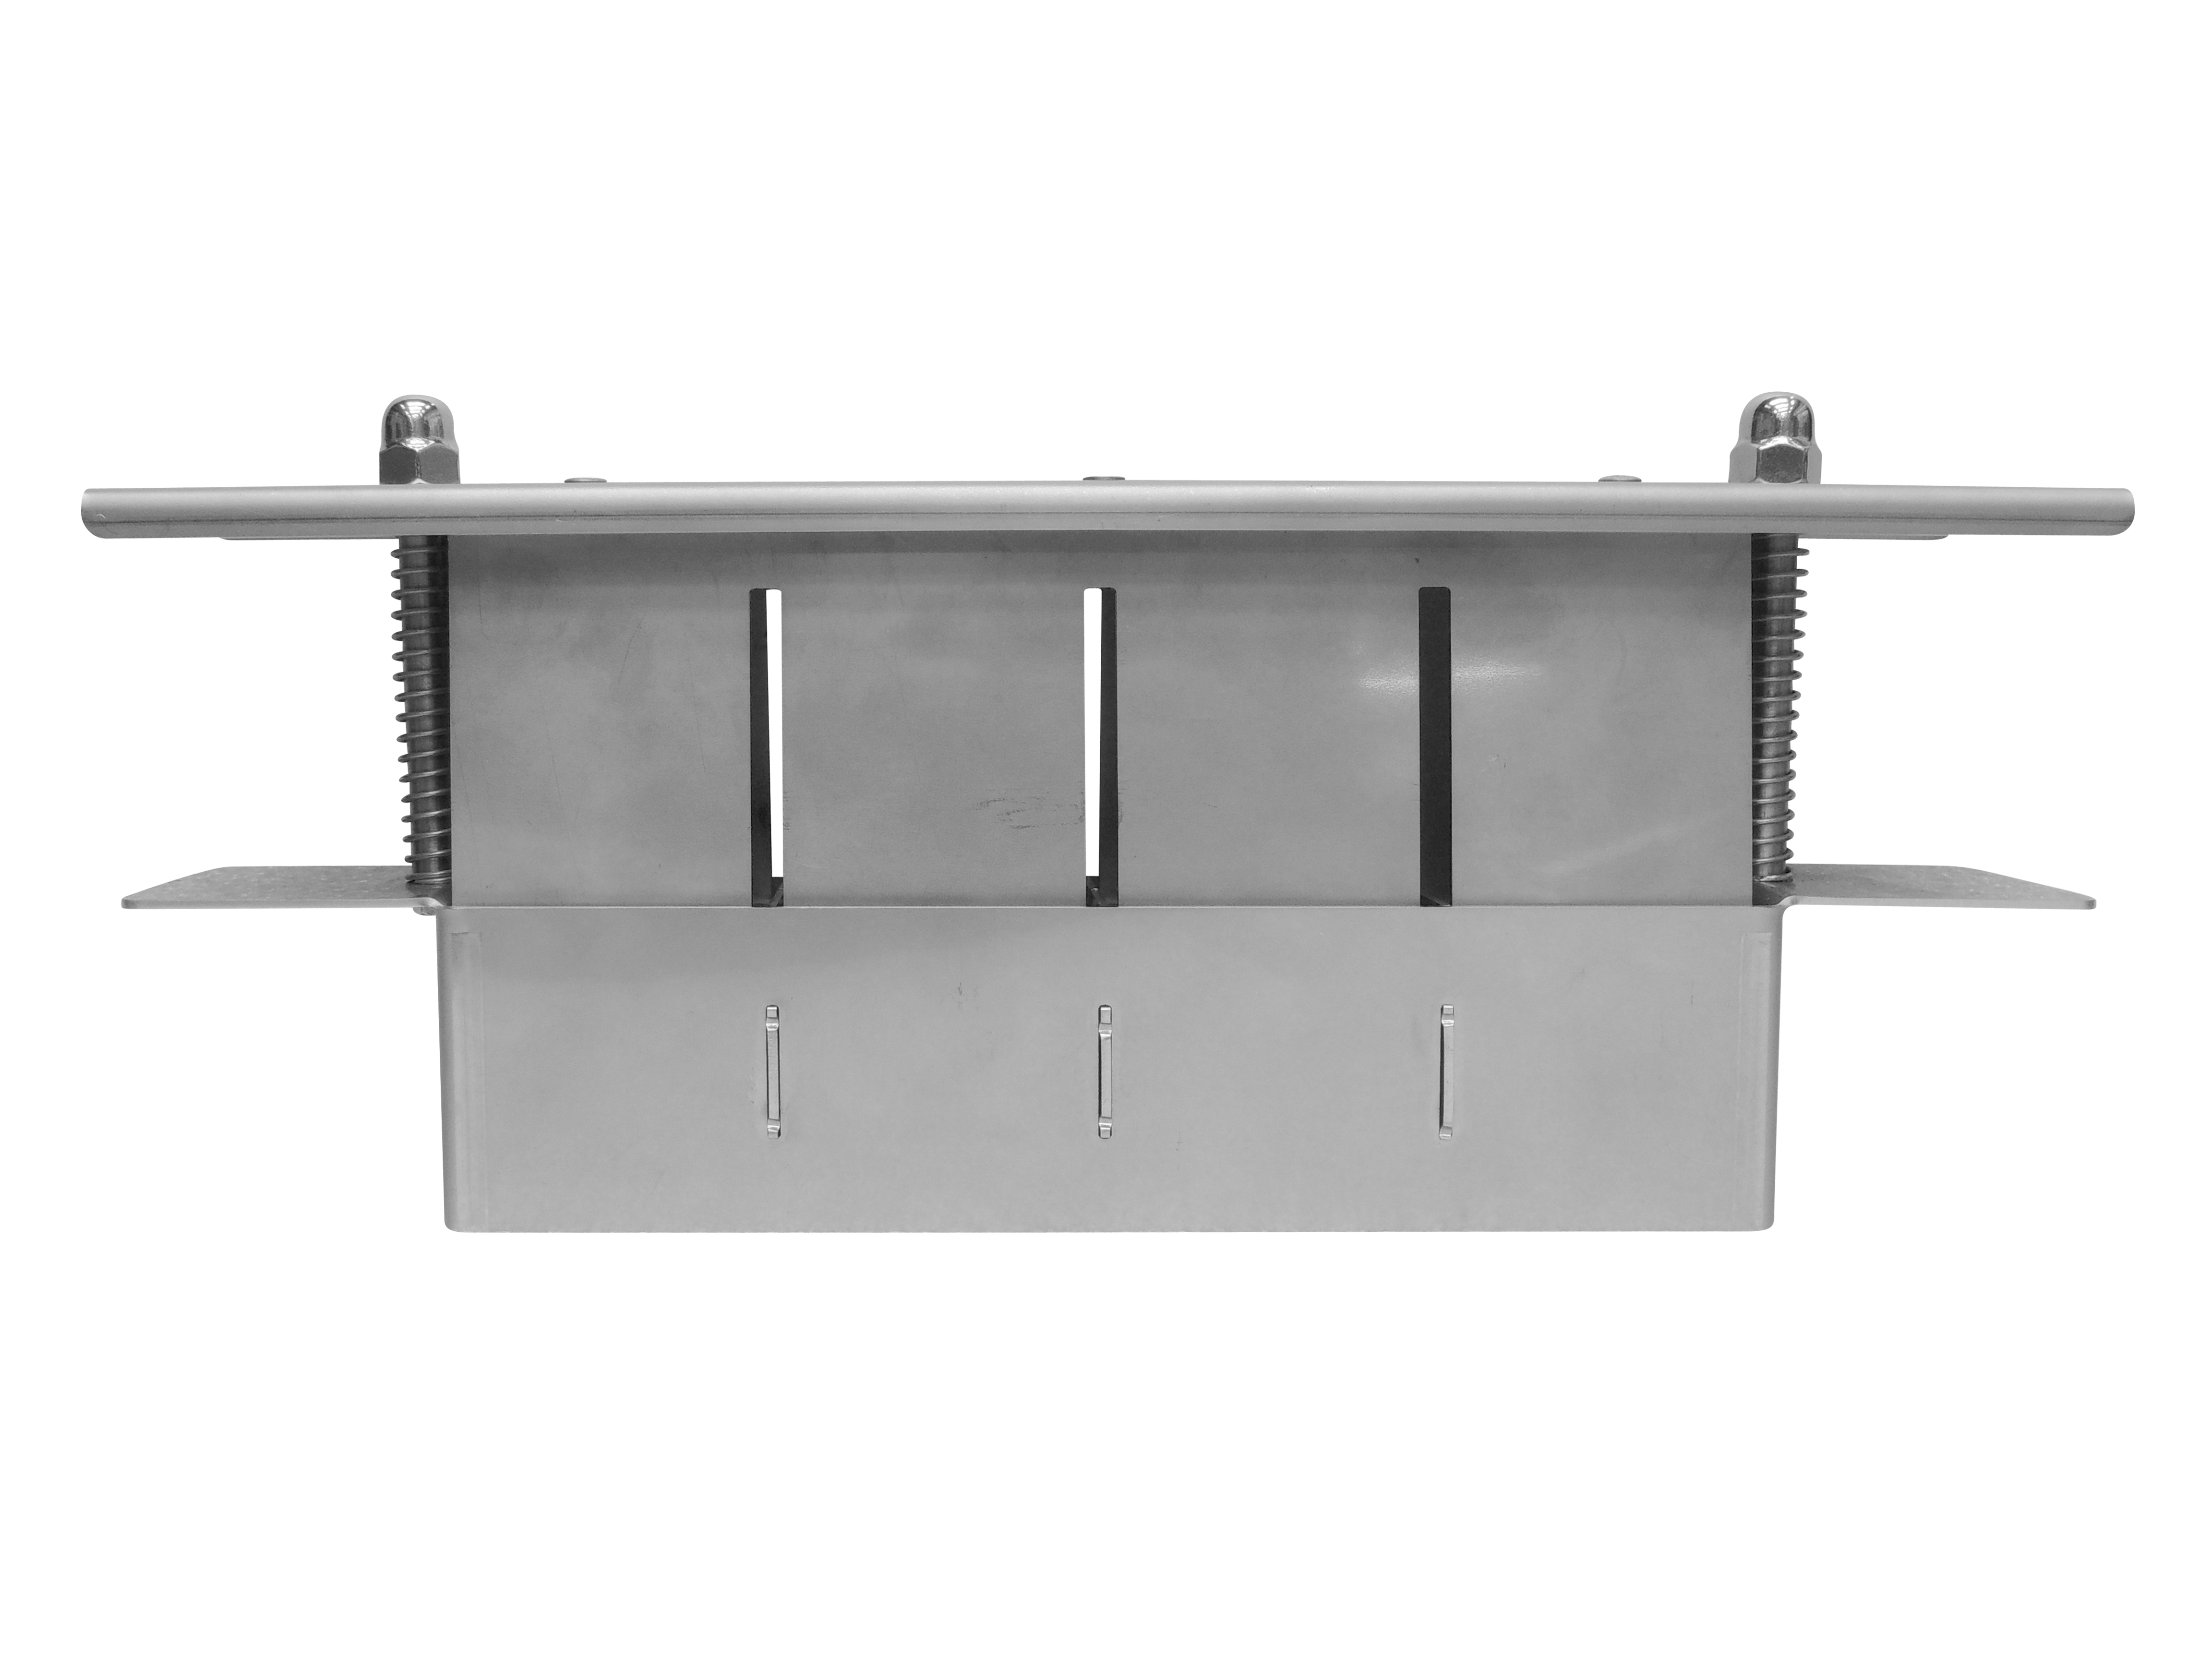
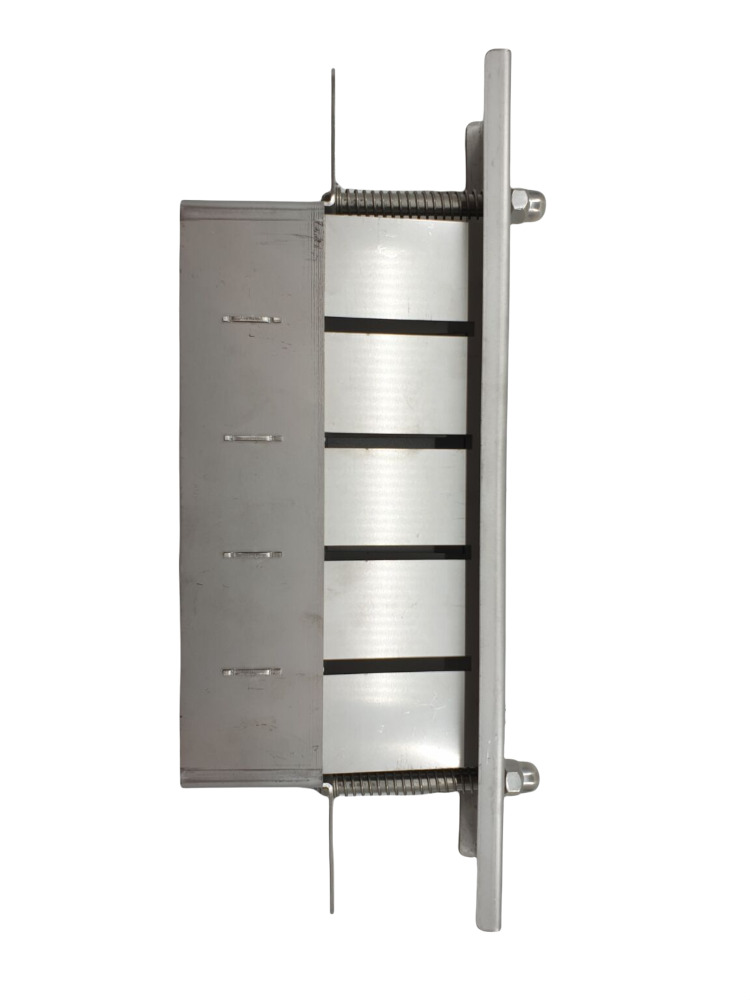
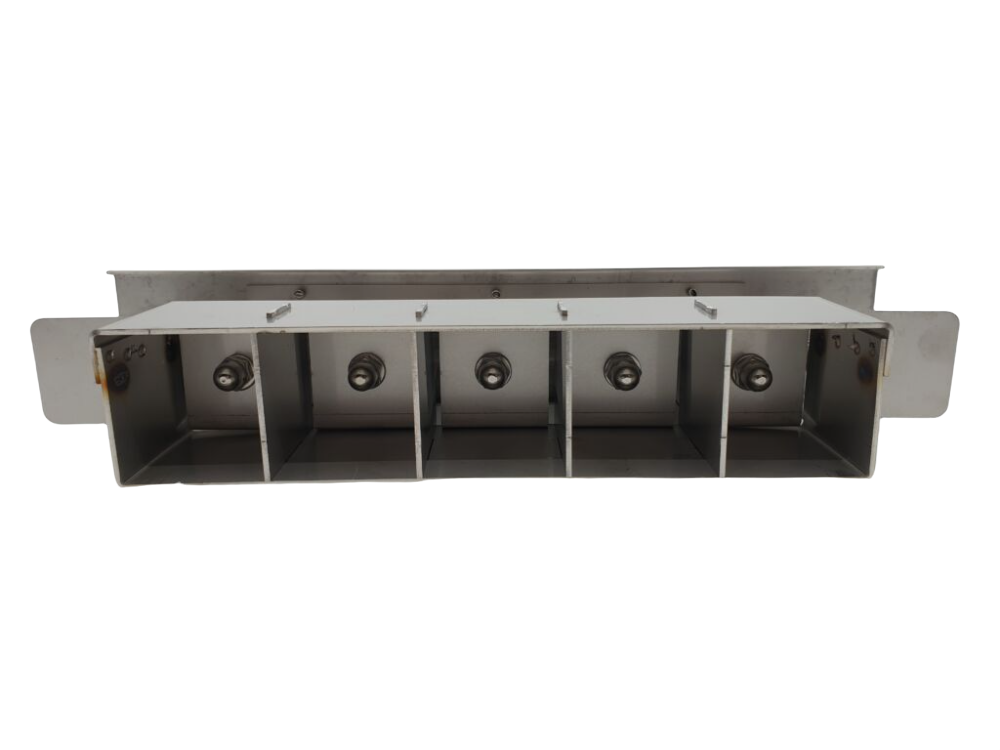
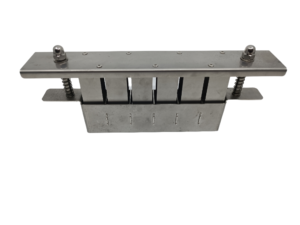
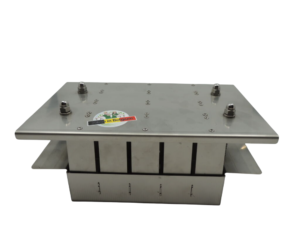
• Five 40 mm blocks with 6 mm recess for the seed.
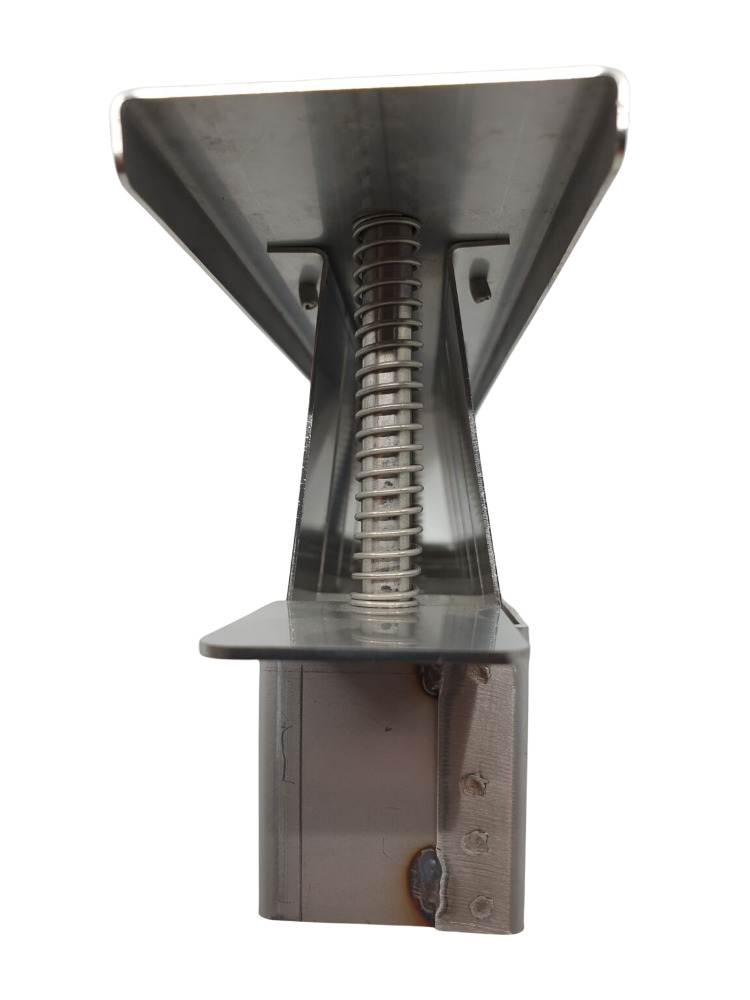
• Solid construction in stainless steel.
• Entirely made in Belgium.
Rather than buying pre-germinated seedlings, using a stainless steel soil blocker has many advantages:
• lower cost,
• the choice of variety is not restricted,
• you determine the production schedule yourself.
There are various methods for producing seedlings. Experience shows that the most satisfactory solution is achieved with pressed soil blocks. This professional technique is now within reach of the amateur thanks to manual stainless steel soil blockers.
How to do it?
The use of garden soil is not recommended for starting your plants under cover. It is not light enough and could contain insects and diseases that could kill your young seedlings. You will find seed composts in garden centres. they offer good water retention, while facilitating drainage and air circulation. It is also possible to do it yourself. You will find the proportions for the right mix for seed compost here.
1.Compost moistening
Water the compost. Just squeeze out a handful of compost; the ideal degree of humidity is reached when drops of water ooze between the fingers.
2.Filling the stainless steel soil blocker
Press the soil blocker vertically several times into the moistened mixture.
Preferably along the walls to the bottom of the container.
The blocker is filled when compost or water appears between the upper gaps. At this point, smooth the excess material over the rim of your container.
3.Block removal
Place the stainless steel soil blocker in the growing tray.
Slightly tighten the handles, while removing the mould. As they come out of the blocker, the blocks separate. However, it may be that blocks touch each other. To avoid too anarchic root growth, it is good to provide sufficient space between each line of blocks.
4.Sowing
It is easy to manually place all large seeds in the recesses of the blocks. For small seeds (up to the size of a radish seed) or very fine seeds (begonia up to 100,000 seeds per gram), use a small dibber and a very simple trick:
– arrange the seeds in a bowl or on a sheet of paper.
– touch the chosen seed until it sticks.
– place the seed in the recess and press lightly to ensure good contact with the soil.
5.Care
To obtain vigorous plants, the following factors must be monitored:
• Water: if the blocks are sown immediately after they are made, their water content is normally sufficient for the following days. Watering is done directly onto the blocks with a mister or a fine sprinkler (coarse watering breaks up the block and drowns the seed).
• Optimal germination temperature: it is important to maintain the temperatures considered optimal for a good germination! Cultivated species will therefore be grouped together according to their respective needs.
• Heat and light: you can place your seedlings in front of a south-facing window. But beware, the plants will only receive a fraction of the light they would get outdoors. On the windowsill, they receive too much heat and not enough light, which could leave them frail. These plants are then said to be “leggy”.
Try to keep your seedlings cool, between 15 and 18°C to encourage slow growth. Watch out for frost for plants placed on window sills. You can place a blanket between the glass and your plants to keep them warm at night.
Finally, you can also use neon tubes or fluorescent bulbs to illuminate your plants. Even so, put your plants near a window so that they can take advantage of artificial AND natural light. Be careful, do not leave the light on all the time, plants also need to sleep.
6.Crop Tracking
Block planting is so exciting that you risk losing control of your crops. It is therefore advisable to carefully note the essential elements: origin of seeds, date of sowing, quantity of plants required, rate of sprouting, etc. Your gardening season can thus be well planned. In the event of a possible failure, you can determine the cause more quickly.
7.Planting out
Planting seedlings in the ground replaces transplanting. The best time is at the end of the afternoon, under overcast skies. The blocks must be well soaked in water, so that the plant has a reserve. Of course, care must be taken to ensure good contact between the block and the surrounding soil. Finish up the work with a general watering.
To help you plant out your plants into the ground, you can use a planting trowel, A dibber or a hoe. There are also several models of seed sowers available on our site but these are generally used by professionals because they make it possible to cover very large areas.


Reviews
There are no reviews yet